Mail server IP reputation affects whether messages reach inboxes, spam folders, or get rejected. Even a newly provisioned SMTP VPS may use an address previously assigned to another customer.
Checking that IP before sending can help prevent avoidable delivery problems.
What Is Mail Server IP Reputation?
Reputation reflects how mailbox providers assess an address using sending behavior, complaints, blocklist data, and other signals. Providers use different systems, so an IP accepted by one might be restricted by another.
1. Check Email Blocklists
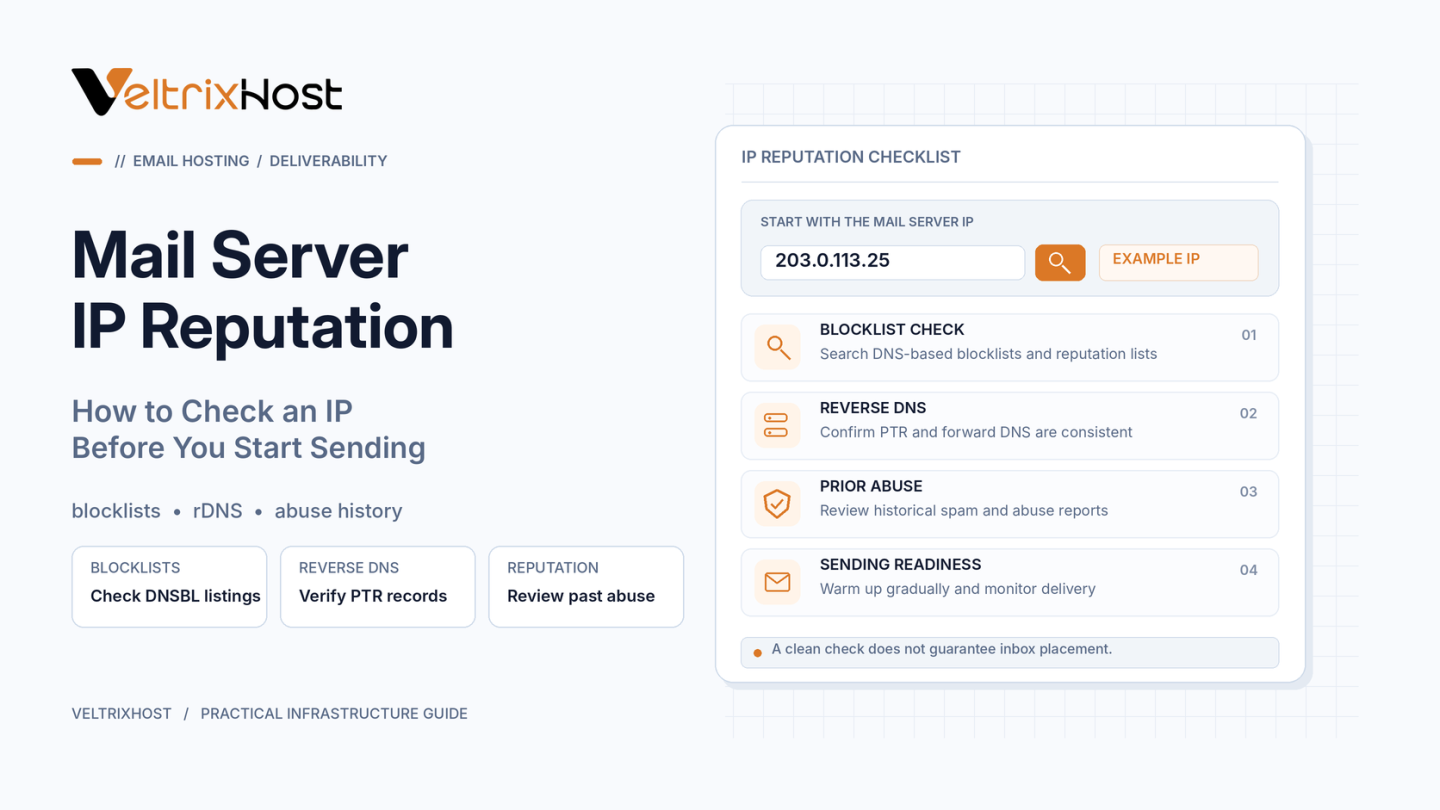
Identify the public IP your server will use for outbound SMTP. Enter it into the official Spamhaus IP and Domain Reputation Checker.
Read listing details rather than treating every result as confirmed spam. Some listings describe network policies, including addresses not intended for direct mail delivery.
2. Investigate Previous IP Activity
Newly assigned does not mean never used. Search for historical abuse reports, past listings, and unexplained mail-related DNS records.
You can also examine nearby addresses for network-wide problems. However, another address being listed does not prove yours is blocked.
Historical information is incomplete, so no public lookup can certify an IP as perfectly clean.
3. Verify PTR and Forward DNS
Use Linux to check reverse DNS:
dig -x 192.0.2.10 +short
Then check whether the returned hostname resolves to the sending address:
dig mail.example.com A +short
Replace both examples with your actual values. For IPv6, verify its AAAA record.
Valid forward-confirmed reverse DNS helps meet receiving-provider requirements.
4. Configure Authentication and TLS
Publish SPF, DKIM, and DMARC records for your sending domain. Set an appropriate SMTP hostname and enable TLS.
These measures authenticate legitimate mail, but cannot erase an IP’s previous reputation history.
5. Monitor Reputation After Sending
Google Postmaster Tools can show reputation, complaints, authentication, and delivery errors after sufficient authenticated Gmail traffic.
A new IP may show no data. Missing dashboard statistics do not prove a good reputation.
Start with wanted, permission-based messages and monitor SMTP rejection codes, hard bounces, and complaint trends.
What If Your IP Is Blocklisted?
Investigate the listing reason before requesting removal. If evidence predates your assignment, document the dates and contact your provider.
Ask about remediation or an alternative address where available. Replacement does not guarantee better deliverability.
Choosing an SMTP VPS
Before ordering, confirm IP allocation, outbound Port 25, PTR/rDNS controls, and mailing policies.
VeltrixHost SMTP VPS Hosting provides dedicated IPv4 addressing, Port 25 access, and self-service PTR management for self-managed mail servers.
Final Recommendation
Check mail server IP reputation before launching. Review blocklists, investigate historical evidence, verify DNS and authentication, and monitor actual delivery results.
An apparently clean IP is a starting point, not an inbox-placement guarantee.
FAQs
Can a new VPS IP already be blocklisted?
Yes. A previously used address may retain listings from earlier activity.
Does a clean IP guarantee inbox delivery?
No. Domain reputation, authentication, and sending practices also matter.
Do PTR records improve delivery?
They meet important infrastructure checks, but cannot guarantee inbox placement.
How often should I check IP reputation?
Before deployment and periodically afterward, especially when delivery errors increase.